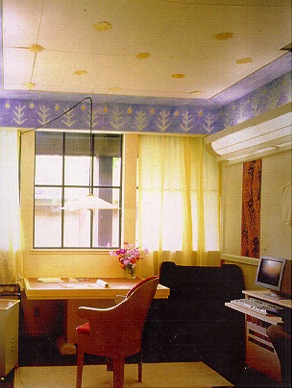
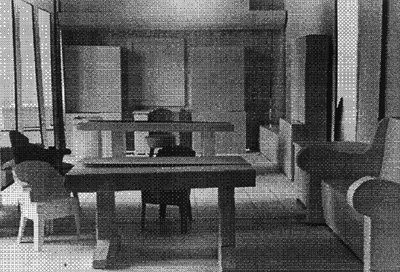
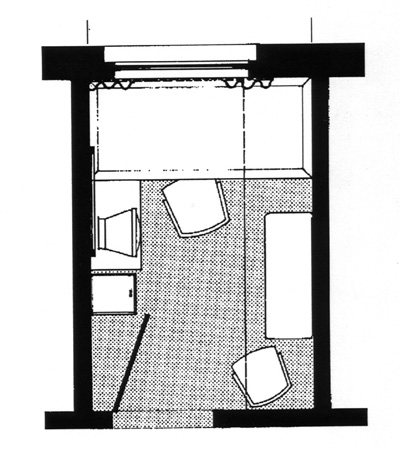
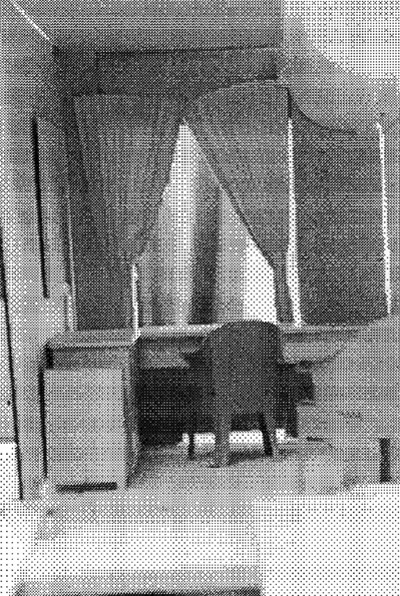
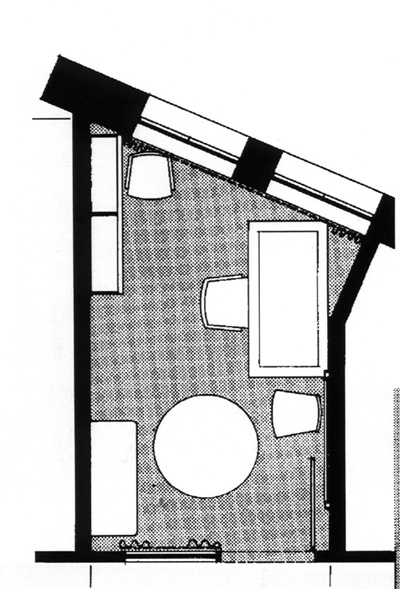
We aim at an office which is perfectly adapted to you and your work. We should like to help you make your office, as finely tuned to you and your work habits, as a classic carpenters workshop, is to his work…

An office made using the sequence

Office

…we shall try to help you discover, for yourself, what it takes to make your own workplace completely comfortable and efficient, in this way.

An office made using the sequence
SEQUENCE OF STEPS FOR AN OFFICE

These are the steps you will follow in making your office:

  1. STEP 1: MENTAL PREPARATION
  2. STEP 2: UNDERSTANDING CENTERS
  3. STEP 3: DRAW YOUR SPACE
  4. STEP 4: MAP THE NATURAL CENTERS IN YOUR OFFICE
  5. STEP 5: WHAT MAKES YOUR OFFICE WORK?
  6. STEP 6: NOW DREAM: DREAM ABOUT YOUR IDEAL WORKING CONDITIONS AND TURN THEM INTO TWO OR THREE MAJOR PATTERNS
  7. STEP 7: PREPARING FOR PHYSICAL DESIGN
  8. CONTINUE ON TO READ A PAPER WHICH EXPLAINS IN DEPTH, WITH PATTERNS, THE PROCESS OF OFFICE LAYOUT
BobBob's office planBob's office model
STEP 1:

MENTAL PREPARATION

We aim at an office perfectly adapted to you and your work.

Consider the classic carpenter's workshop where each component is gradually built and fitted, over many years, until each tool fits just where it belongs, and each surface is just the right size and height for the carpenter's work.

You can make your own workplace comfortable and efficient in a similar way.

PirkoPirko's office planPirko's office model
STEP 2:

UNDERSTANDING CENTERS

To achieve a deeply satisfying office, you must work with centers. Your office will be practical and beautiful, only when you have found a satisfying and harmonious configuration of centers there.

In what follows, everything you do, has to do with focusing on centers, becoming aware of them, creating them and shaping them to make your office practical.

JamesJames's office planJames's office model
STEP 3:

DRAW YOUR SPACE

Make a rough scale drawing of the space or room where you are making your new office.

You may draw this on the drawing pad provided here.

As nearly as possible draw to scale, and include a rough scale of feet on the sketch.

AlexAlex's office planAlex's office model
STEP 4:

MAP THE NATURAL CENTERS IN YOUR OFFICE

To do this you MUST stand in the room itself. Do not try to do it from a plan.

Stand in the room where your new office is going to be. Try to see where the NATURAL centers are. Natural centers are places which have an obvious presence as a "place" in the room. They are the places which have the greatest potential for life: in some cases you will see them as the places which have the most life as they are right now.

On the scale drawing of your space, sketch in these natural centers as they presently exist.

~o0o~
STEP 5:

WHAT MAKES YOUR OFFICE WORK?

Now you must try to get clear about what will be most important in your office.

What will make it easy for you to work here? What makes it unique to you? What is it that will make this your office as opposed to someone else's?

You need to invent the types of centers, unique to you, that will make you comfortable.

As a first step in this work, write down the activities which are most important in your work day:

Talking to people, Using desk, Filing and storage, Computer use, Conference, Working with clients, Discussion, Reading, Writing by hand, Concentration, Using library, Telephoning, Access to records, Overview of projects, Other machines (FAX, Scan, etc), Walking about, Reading memos, Connection with your staff, Drawing and layout, Working with one other person.

Underline items from the list, or write others down by hand.

STEP 6:

NOW DREAM: DREAM ABOUT YOUR IDEAL WORKING CONDITIONS AND TURN THEM INTO TWO OR THREE MAJOR PATTERNS

Now do your best to visualize each of your working activities as a pattern or ideal center.

For each activity on your list, ask yourself which occasion you can remember where this particular kind of activity was most inspiring for you. Do not stick to stereotypes. Be honest with yourself about which occasion you can remember where this activity was really most inspired and most helpful to you in your work.

The result may be quite surprising.

A DREAM ACTIVITY AS A CENTER. Once you get a positive vision of the dream condition for each activity, write down the essential physical elements that made it happen.

Make a list of the two or three most important patterns which will make your office just right. For reference in later steps of this sequence, call them Pattern A, Pattern B, etc.

An office made using the sequenceAn office made using the sequence
STEP 7:

PREPARING FOR PHYSICAL DESIGN

You may now prepare to marry the patterns you have defined for your activities, with the pre-existing natural centers in the room.

During the steps that follow, in each step you will put down one feature of the office, and establish the existence of one bit of additional structure in the room.

As you go forward, each step should get you closer to an overall system of space in which every part is useful, living, coherent, and positive for your work.

CONTINUE ON TO READ A PAPER WHICH EXPLAINS IN DEPTH, WITH PATTERNS, THE PROCESS OF OFFICE LAYOUT