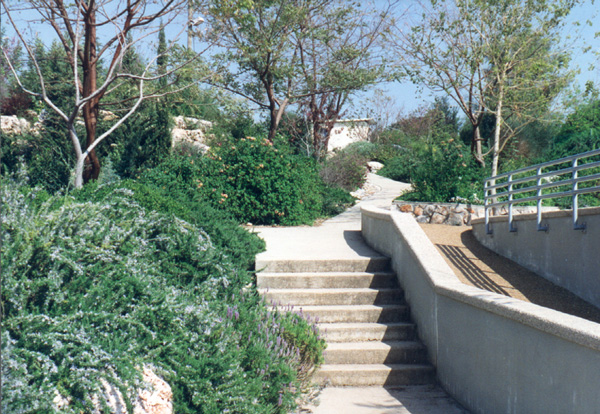
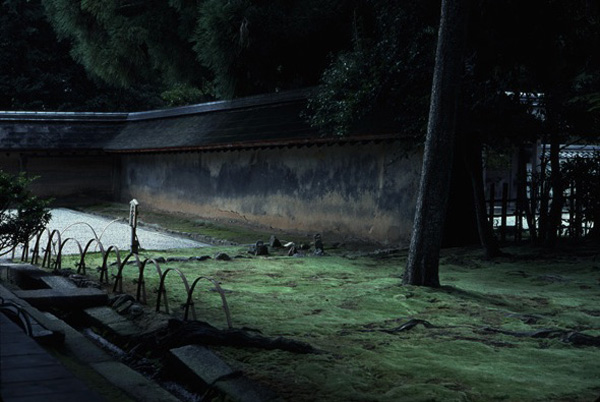
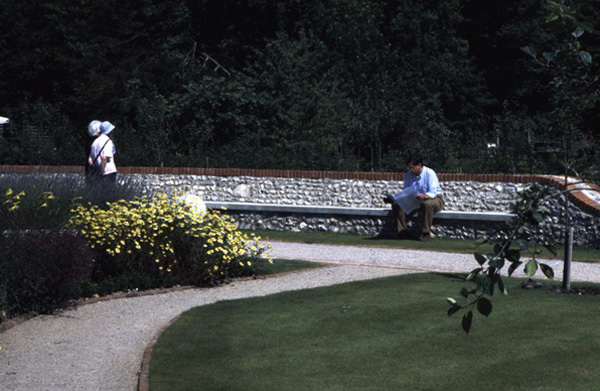
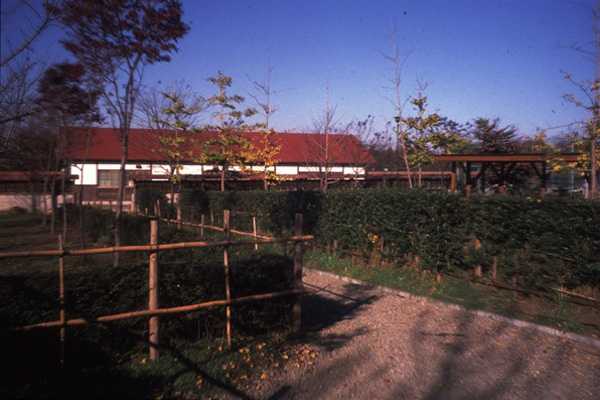
This sequence allows the people in a neighborhood to build a small park or "green" over time, at weekends, or whenever they have a chance, applying the same rules repeatedly to the continuous improvement of the green.

Contemplating the neighborhood green

Neighborhood Green

As a result of this repetition, the individual green will come to work as a whole uniquely adapted to the neighborhood, with its own appropriate and unique character, according to the position of nearby trees, and houses and roads in the existing neighborhood.

SEQUENCE OF STEPS FOR A NEIGHBORHOOD GREEN

These are the steps you will follow in making your neighborhood green:

  1. STEP 1: HUNT FOR A FOCUS
  2. STEP 2: DRIVE AROUND THE NEIGHBORHOOD
  3. STEP 3: FIND A CENTRAL POSITION, AND DO IT WITH OTHER PEOPLE
  4. STEP 4: ESTABLISH THE POSSIBILITY OF STEWARDSHIP
  5. STEP 5: EXPERIENCE THE CHOSEN PIECE OF LAND
  6. STEP 6: IDENTIFY THE MAJOR CENTERS IN THE LAND; WORK OUT HOW TO PRESERVE AND EXTEND THE STRUCTURE OF THE LAND
  7. STEP 7: MAKE A ROUGH SCALE DRAWING OF THE LAND; PUT IN THE EXISTING CENTERS AND THE WAY YOU INTEND TO INTENSIFY THEM
  8. STEP 8: LEVEL THE LAND FOR THE MOST IMPORTANT CENTER
  9. STEP 9: WORK ON SECONDARY CENTERS: INDIVIDUAL TREES, SPACE BETWEEN TREES, OPEN GRASS LAND, A CORRIDOR TO A VIEW
  10. STEP 10: BUILD A BEAUTIFUL SEAT
  11. STEP 11: PLANT FLOWERS, FLOWERING BUSHES, AND NATIVE PLANTS
  12. STEP 12: A FOCUS, PERHAPS A FOUNTAIN, PERHAPS A FISHPOND
  13. STEP 13: FINALLY, COMPLETE WORK WITH LANDSCAPE ARCHITECTS, SHOVELS, RAKES, AND PRUNING SHEARS
  14. FINISH
A green neighborhood pathway
STEP 1:

HUNT FOR A FOCUS

What might make your neighborhood more "glued together?" Some little place, where a person can belong, sit and enjoy the sun, or chat with a passing stranger.

A neighborhood green built using the sequence
STEP 2:

DRIVE AROUND THE NEIGHBORHOOD

To identify spots which have the potential for being such a place, drive around the neighborhood, looking for a small area of public land that can be improved by active stewardship and that they have a reason to care about. It needs to be small, could often be no more than 40 feet square.

  • It could be a piece of street which has no use, near a street barrier
  • It could be a blighted empty lot in the neighborhood
  • a weedy corner where two streets meet
  • a derelict piece of public land with no present useful purpose
  • a meadow in a public park
  • an edge of a stream
  • part of an abandoned street
  • a rocky outcrop
  • a place where there is a beautiful view of the Bay
  • a trail behind houses
A neighborhood green built using the sequence
STEP 3:

FIND A CENTRAL POSITION, AND DO IT WITH OTHER PEOPLE

As far as possible, and if you have any choice in the matter, choose a piece of land which is in a place which people see, and come by every day, so that they could imagine seeing other people there.

If you begin to see some possibilities, take one or two other neighbors with you, to see if you can arrive at a consensus about the best place to start.

A neighborhood green built using the sequence
STEP 4:

ESTABLISH THE POSSIBILITY OF STEWARDSHIP

Establish that, in principle, potentially, this place can be owned or managed by the neighborhood.

  • If it is city land, you will find out how it might be done;
  • If it is private neglected land, the program will be identified in one of the two programs which the city offers.
A neighborhood green built using the sequence
STEP 5:

EXPERIENCE THE CHOSEN PIECE OF LAND

With some of your neighbors, spend time there and find the main centers of the land.

Look for its natural borders, its principal features and strengths. Note its major trees, flora, aspect, sunlight and shade, and probable water flows. What now detracts from these strengths? How might it be improved?

STEP 6:

IDENTIFY THE MAJOR CENTERS IN THE LAND;
WORK OUT HOW TO PRESERVE AND EXTEND THE STRUCTURE OF THE LAND

What natural boundaries exist, which need to be extended or intensified.

What secondary centers exist; a great tree, a tree that might be made great by careful pruning, and by clearing underbrush.

Is there an obvious view, a place for a seat which looks towards a certain direction, in a nice and compelling way? Mark it with a stake.

Is there an unusual place, a place with its own character, something which might form the natural basis of your desire to be there, if it could only be enhanced?

Is there a place which cries out to be leveled, or enlarged, or made smaller; to make it intense and memorable, something to go towards, to remember.

What is the important place; the natural place you gravitate to. Stand there, get sure about it, and mark the spot with a stake.

A neighborhood green
STEP 7:

MAKE A ROUGH SCALE DRAWING OF THE LAND
PUT IN THE EXISTING CENTERS AND THE WAY YOU INTEND TO INTENSIFY THEM

With some of your neighbors, spend some time there and find the main centers of the land. Look for its natural borders, its principal features and strengths. Note its major trees, flora, aspect, sunlight and shade, and probable water flows. What now detracts from these strengths? How might it be improved?

On a roughly scale drawing of the land, sketch in these natural centers as they presently exist.

Bougeanvillea
STEP 8:

LEVEL THE LAND FOR THE MOST IMPORTANT CENTER

Even at this earliest stage, with the design not yet entirely clear, it is essential that you take physical action to establish, and embellish, the place which is most important.

The extent of it, its height, the levelness of its surface should all be established. If you need equipment to accomplish it (a bobcat or small backhoe) borrow it from the city, or ask Public works to come and help you do it.

It may be necessary to build a retaining wall, with steps, to make a level surface where you want it. You must then plan to build a retaining wall. It can be made with dry stacked blocks, using dry bagged concrete in the cells, and then puddled. Or you can form it and cast it in concrete.

Esztergom canal
PART II:

BUILD YOUR NEIGHBORHOOD GREEN

  • STEP 9: WORK ON SECONDARY CENTERS: INDIVIDUAL TREES, SPACE BETWEEN TREES, OPEN GRASS LAND, A CORRIDOR TO A VIEW
  • STEP 10: BUILD A BEAUTIFUL SEAT
  • STEP 11: PLANT FLOWERS, FLOWERING BUSHES, AND NATIVE PLANTS
  • STEP 12: A FOCUS, PERHAPS A FOUNTAIN, PERHAPS A FISHPOND
  • STEP 13: FINALLY, COMPLETE WORK WITH LANDSCAPE ARCHITECTS, SHOVELS, RAKES, AND PRUNING SHEARS
  • FINISH