This is a process for making ornament in any place or thing. It allows you to design and create ornaments by thinking, looking...
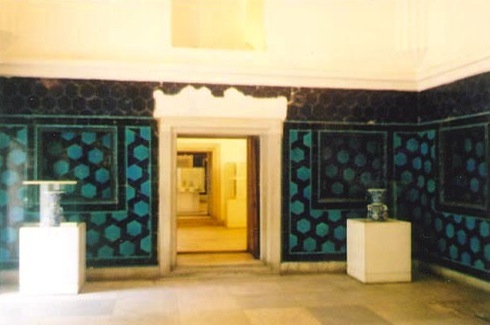
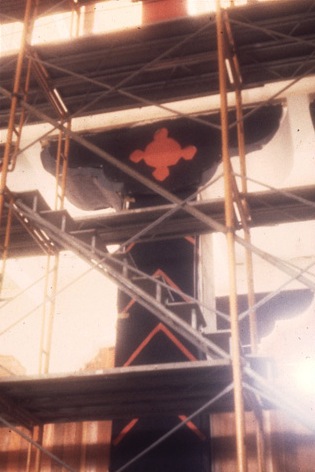
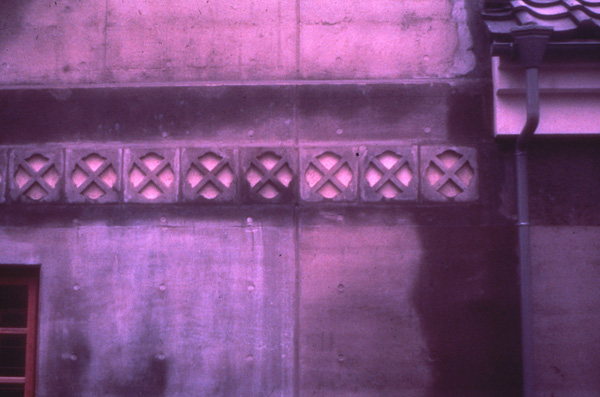
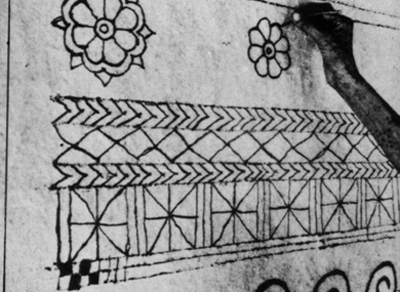
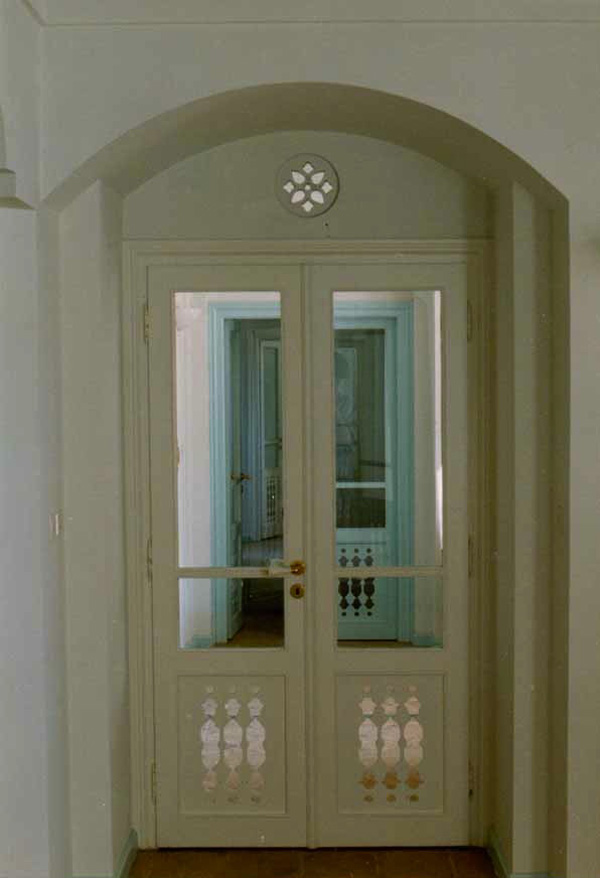
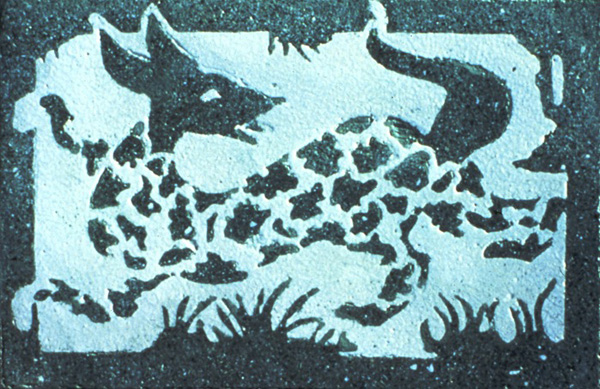
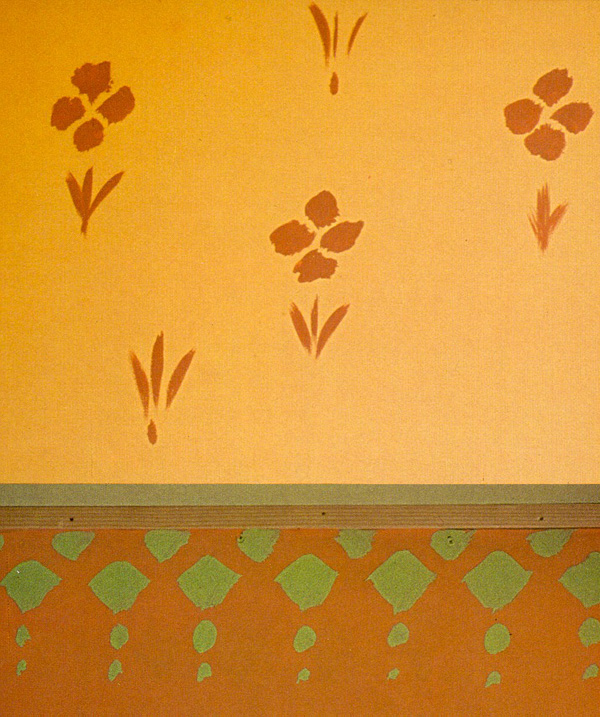
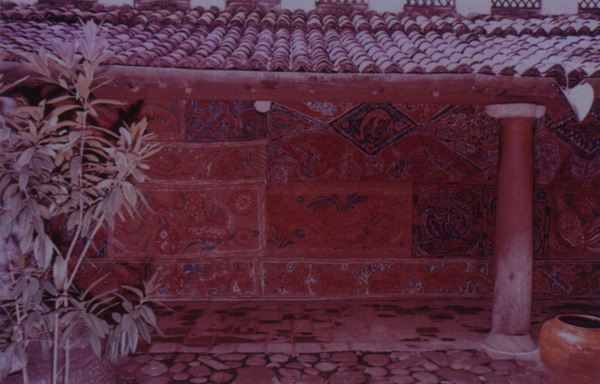
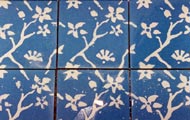
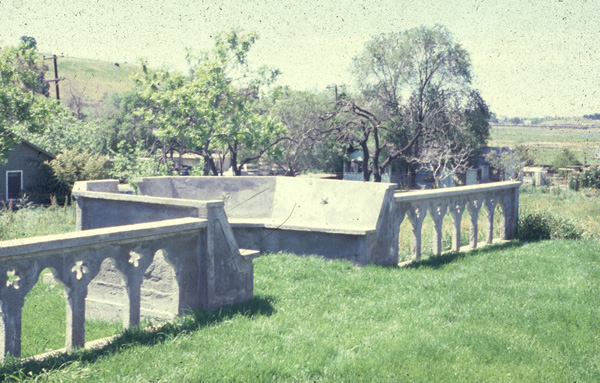
A turquoise and black geometric ornamentation

Ornament

...shaping strong centers and shaping positive space. Living ornament is not empty decoration: it completes and helps a thing have life.

A turquoise and black geometric ornamentation
SEQUENCE OF STEPS FOR MAKING AN ORNAMENT

These are the steps you will follow in making your ornament:

  1. STEP 1: IDENTIFY THE GAPS IN THE BUILDING OR BUILDING COMPONENT
  2. STEP 2: ASK YOURSELF, WHAT OVERALL GESTURE IN THE WHOLE SEEMS TO REPAIR THE EMPTY GAP-LIKE FEELING IN THE WHOLE?
  3. STEP 3: FIND A SIMPLE REPEATING PATTERN WHICH IS CONSISTENT WITH THIS GESTURE AND FITS WITHIN IT
  4. STEP 4: IMPROVE THE ORNAMENT WITH WELL-DEFINED AND POSITIVE SPACE
  5. STEP 5: MAKE APPROPRIATE BOUNDARIES
  6. STEP 6: ADD A SECOND LEVEL OF SCALE
  7. STEP 7: IF NEEDED, ADD A THIRD LEVEL OF SCALE
  8. STEP 8: SHARPEN THE SMALLEST DETAILS, AND MAKE THEM MORE POSITIVE
  9. STEP 9: IF IT IS HELPFUL, INCREASE CONTRAST TO MAKE THE ORNAMENT MORE VIVID
  10. FINISH
Making an ornament
STEP 1:

IDENTIFY THE "GAPS" IN THE BUILDING OR BUILDING COMPONENT

Look carefully at the building or building component which is to receive the ornament, and find the "gaps" in it.

Ornamentation on a building
STEP 2:

ASK YOURSELF, WHAT OVERALL GESTURE IN THE WHOLE SEEMS TO REPAIR THE EMPTY GAP-LIKE FEELING IN THE WHOLE?

Someone making ornamentation
STEP 3:

FIND A SIMPLE REPEATING PATTERN WHICH IS CONSISTENT WITH THIS GESTURE AND FITS WITHIN IT

Ornamentation on a doorway
STEP 4:

IMPROVE THE ORNAMENT WITH WELL-DEFINED AND POSITIVE SPACE

Now improve the ornament by making the individual bits of space in the ornament more positive. To do this, start giving better shape to individual repeating elements. "Better" means that the negative space between these elements, not only the elements themselves, become well-shaped and positive in shape.

Ornamentation
STEP 5:

MAKE APPROPRIATE BOUNDARIES

Begin to define the appropriate boundaries, which help to unify the ornament and enhance it's relationship to it's surroundings.

Ornamentation from the Linz cafe
STEP 6:

ADD A SECOND LEVEL OF SCALE

Once you have the boundaries clear, try adding a second level of scale, of other smaller shapes, which make the ornament whole, and which increase the unity of it's interior space. What his means is that the space between elements becomes more positive because of these small elements you have added.

Ornamentation
STEP 7:

IF NEEDED, ADD A THIRD LEVEL OF SCALE

Do what you may need to to add a third level of detail, thus embellishing the centers you have just created with small centers. They should be chosen to create both large centers and small ones.

Ornamental tiles
STEP 8:

SHARPEN THE SMALLEST DETAILS, AND MAKE THEM MORE POSITIVE

Once again, sharpen the smallest elements to make them more positive.

Ornamentation on a bench
STEP 9:

IF IT IS HELPFUL, INCREASE CONTRAST TO MAKE THE ORNAMENT MORE VIVID

In any case, make sure it is not too extreme; the ornament should end up subdued and harmonious.